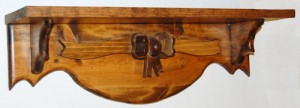
In the last article, I explained how to make the vertical support braces for the 24″ Ribbon and Bow Shelf. In this article, I will be walking you through the steps to layout and make the Ribbon for the shelf.
The ribbon for this shelf is made from a piece of 1″ x 4″ material that is 16″ long. The illustration below shows how the finished ribbon will look when it is cut out. So grab your poster board and let’s get started designing the pattern for the ribbon.
To assist you in laying out the pattern for the ribbon, you will need a piece of cardboard that is 16″ x 18″ and should be reasonably thick because we will be pushing pins into the surface. We will also need one piece of poster board that is 16″ x 2″ for the pattern and three pieces of poster board that are 1″ x 12″ that will act as our compasses. A standard compass is not capable of drawing an arc the size we need for this pattern, so we will create a make-shift compass.
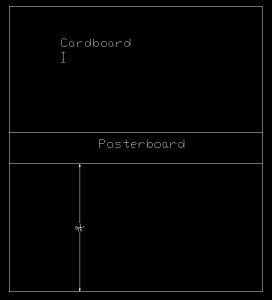
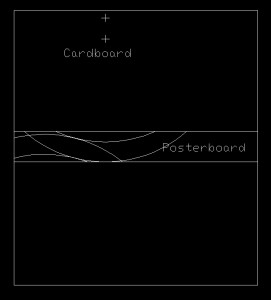
To get started laying out the pattern, take the piece of cardboard and place it on a work surface so that one of the 16″ sides is at the bottom nearest you. Now measure 8-1/16″ from the bottom and place a mark on both the left and right side of the cardboard. Take the 16″ x 2″ strip of poster board, orient it with one of the 16″ sides parallel with the 16″ side of the cardboard, and place the bottom of the pattern on the two marks you just made. Place a strip of masking or blue painters tape on each side to hold the poster board in place.
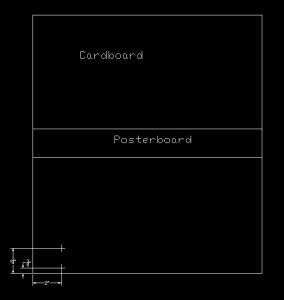
We now need two measurements to establish the center point of the first two arcs that we will be drawing. Measure 2″ from the left and 3/8″ from the bottom and place a mark at this intersection on the piece of cardboard. Now measure 2″ from the left and 1-3/4″ from the bottom of the piece of cardboard and place a mark at the intersection of these two points.
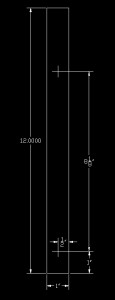
Now we will be making three compasses to draw the arcs for the ribbon. Take one of the 1″ x 12″ pieces of poster board and measure up 1″ from one of the narrow ends and 1/2″ from the long side and place a mark at the intersection of these two points. Then measure 8-1/8″ from this mark and place a second mark on the compass 1/2″ from the side.
Now you need to make two more compasses one with a measurement of 8-3/16″ between the holes and the other with a measurement of 8-1/16″ between the holes. Label each compass with the measurement between the holes so you’ll know which one to use by its radius.
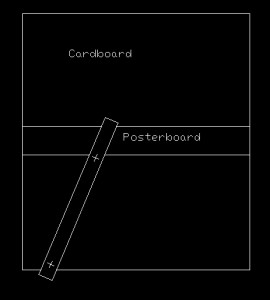
To draw the first arc on the pattern, take the compass that you labeled 8-3/16″ and place a hole through one of the marks just large enough for the point of a pencil the protrude through. Take a push pin or thumb tack and place it through the other mark. Now pin the compass to the mark that is 3/8″ from the bottom of the cardboard. Before putting the pencil through the hole, position the compass as indicated below.
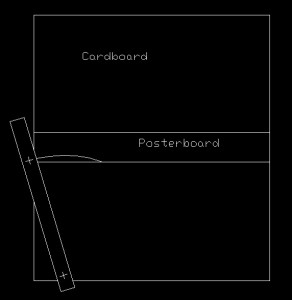
Now place the pencil point through the hole and pivot the compass to the left. This action will draw our first arc on the pattern.
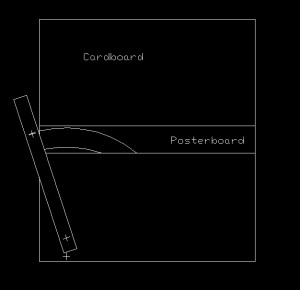
You must be absolutely sure to keep the compass flat and straight through the swing or the arc won’t be correct. Now take the compass that is labeled 8-1/8″ and pin it to the hole that is 1-3/4″ from the bottom of the cardboard and draw the second arc.
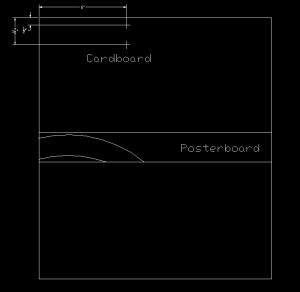
If your arcs look like the illustration above, congratulations you’re half way done with the pattern layout. To create the 2nd set of arcs for the ribbon, measure 6″ from the left and 1/2″ from the top of the cardboard and place a mark at the intersection of these two points. Now measure 6″ from the left and 1-7/8″ from the top and place a mark at the intersection of these two points on the cardboard.
Using the compass labeled 8-1/8″, pin the pivot point at the mark 1/2″ from the top of the cardboard and draw the first arc. Using the compass labeled 8-1/16″, pin the pivot point at the mark 1-7/8″ from the top and draw the second arc for the ribbon. If you did everything correctly, your pattern should look like the illustration below.
Don’t worry too much if your top and bottom arcs don’t intersect perfectly, you can fix it when you cut it out. Now measure 8″ from the left side of the pattern and draw a vertical line all the way across the pattern. Then take a straight edge and make the angle on the left end of the ribbon as shown in the illustration below.
Now all that’s left to do is remove the tape from the pattern, fold it in half at the line you drew, folding the right half under the left half so your lines are visible from the top, and cut it out following the diagram above.
When you have the pattern cut out, it should look like the first image at the top of this article when you unfold it. Now trace the pattern on to your piece of wood. Cut it out with your saber saw, band saw, or scroll saw, sand it, and you’re ready to move on the next part of the shelf.
In the next article, I’ll describe how to make the bow that sits on top of this ribbon. See you then and as always, thanks for stopping by.



Super post, tienen que marcarlo en Digg
Ivan